 :
:

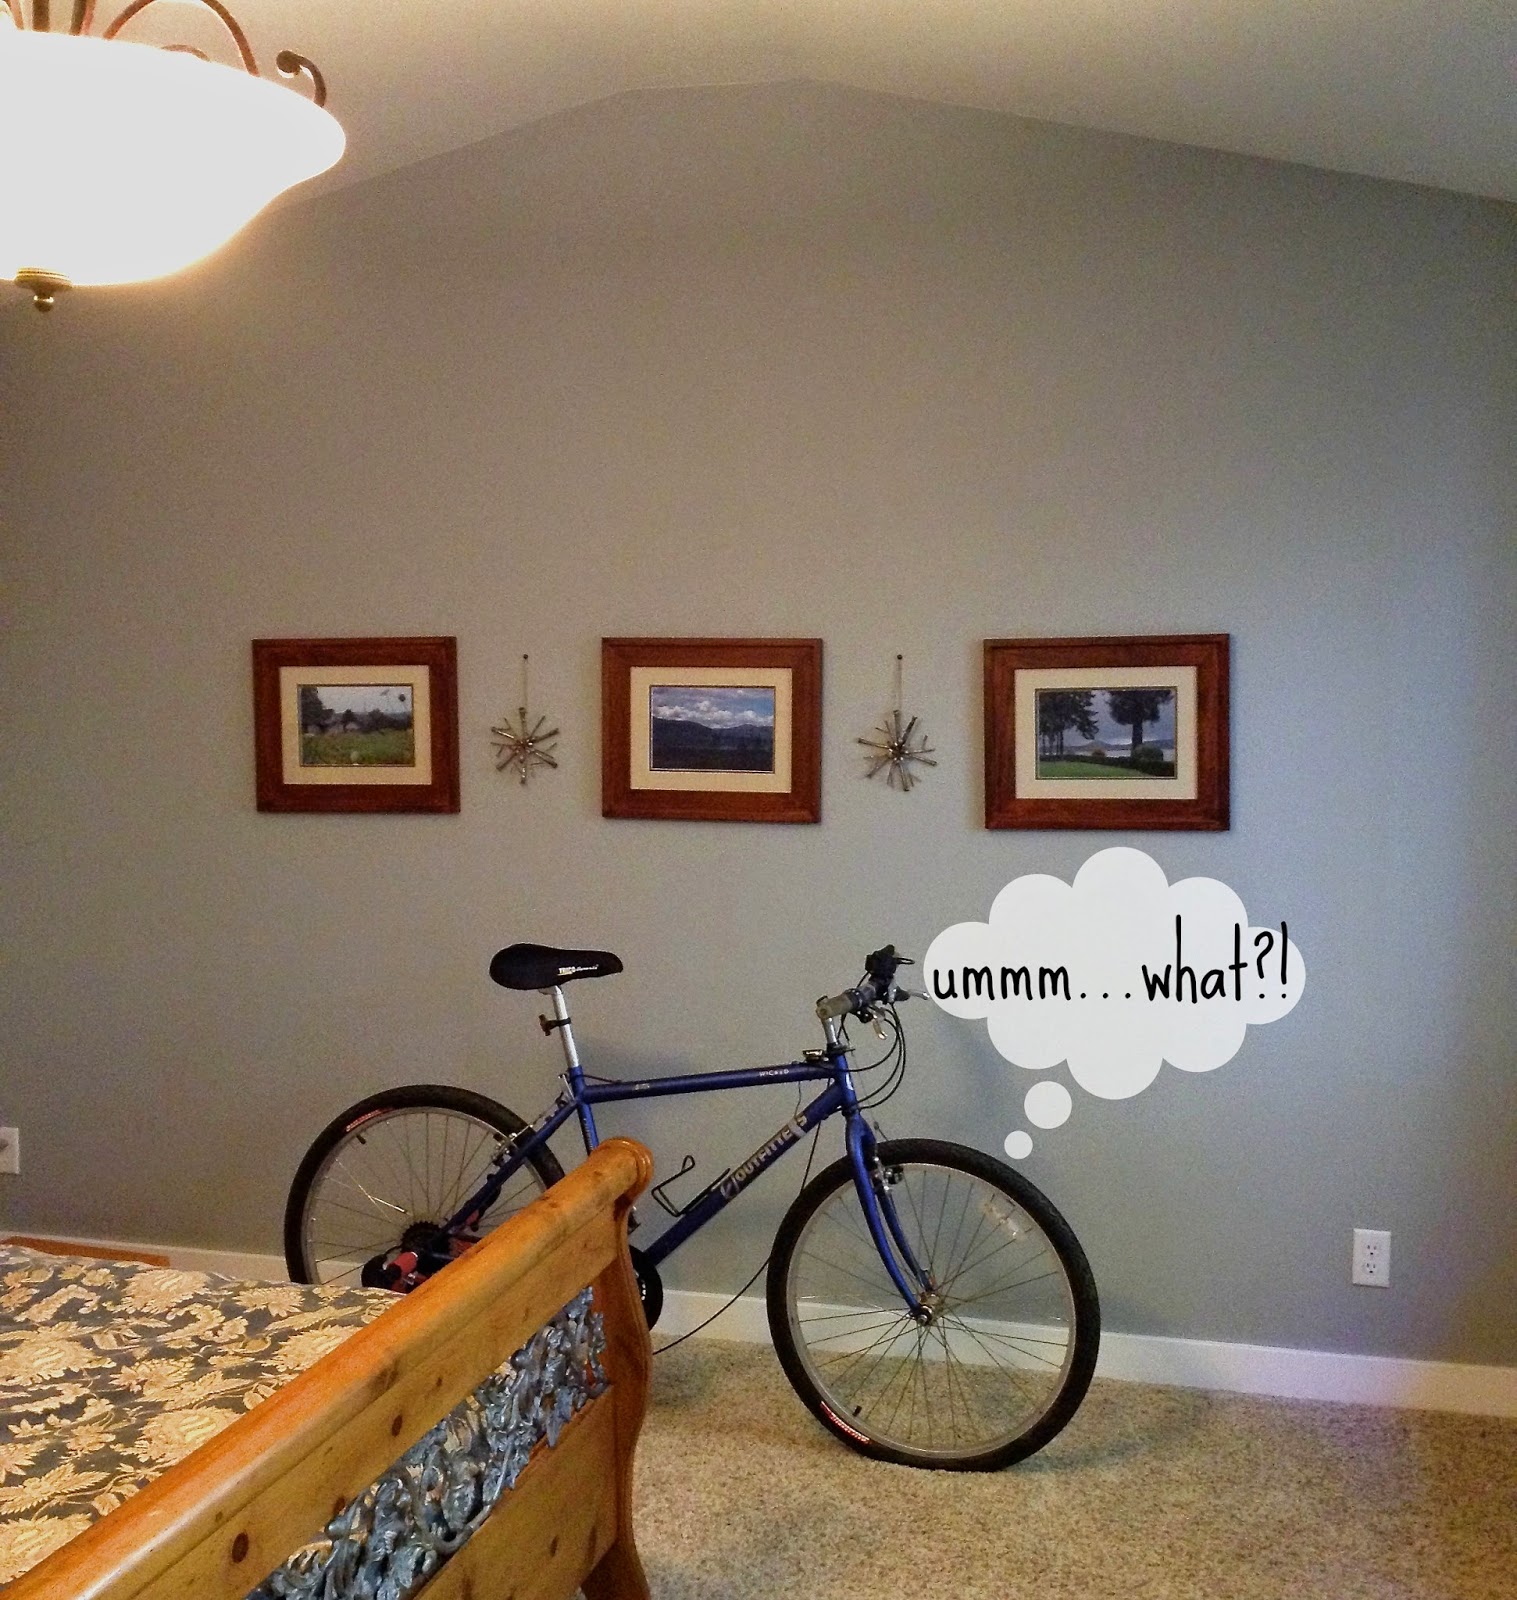
Welcome to summer, friends! I don't know about you, but I can't believe we're already closing in on the end of June...yikes. And while summer's heat is definitely not on my wish list, thinking about cool lakes is. So it's no wonder that I've got sailboats on the brain...
I was trimming our large cedar trees the other day and this particular branch caught my eye because it's twiglet was almost straight up and down and I thought...hey that looks like a boat mast!
And thus a hare-brained idea was born. The Mr. might say another hare-brained idea...but what does he know :-)
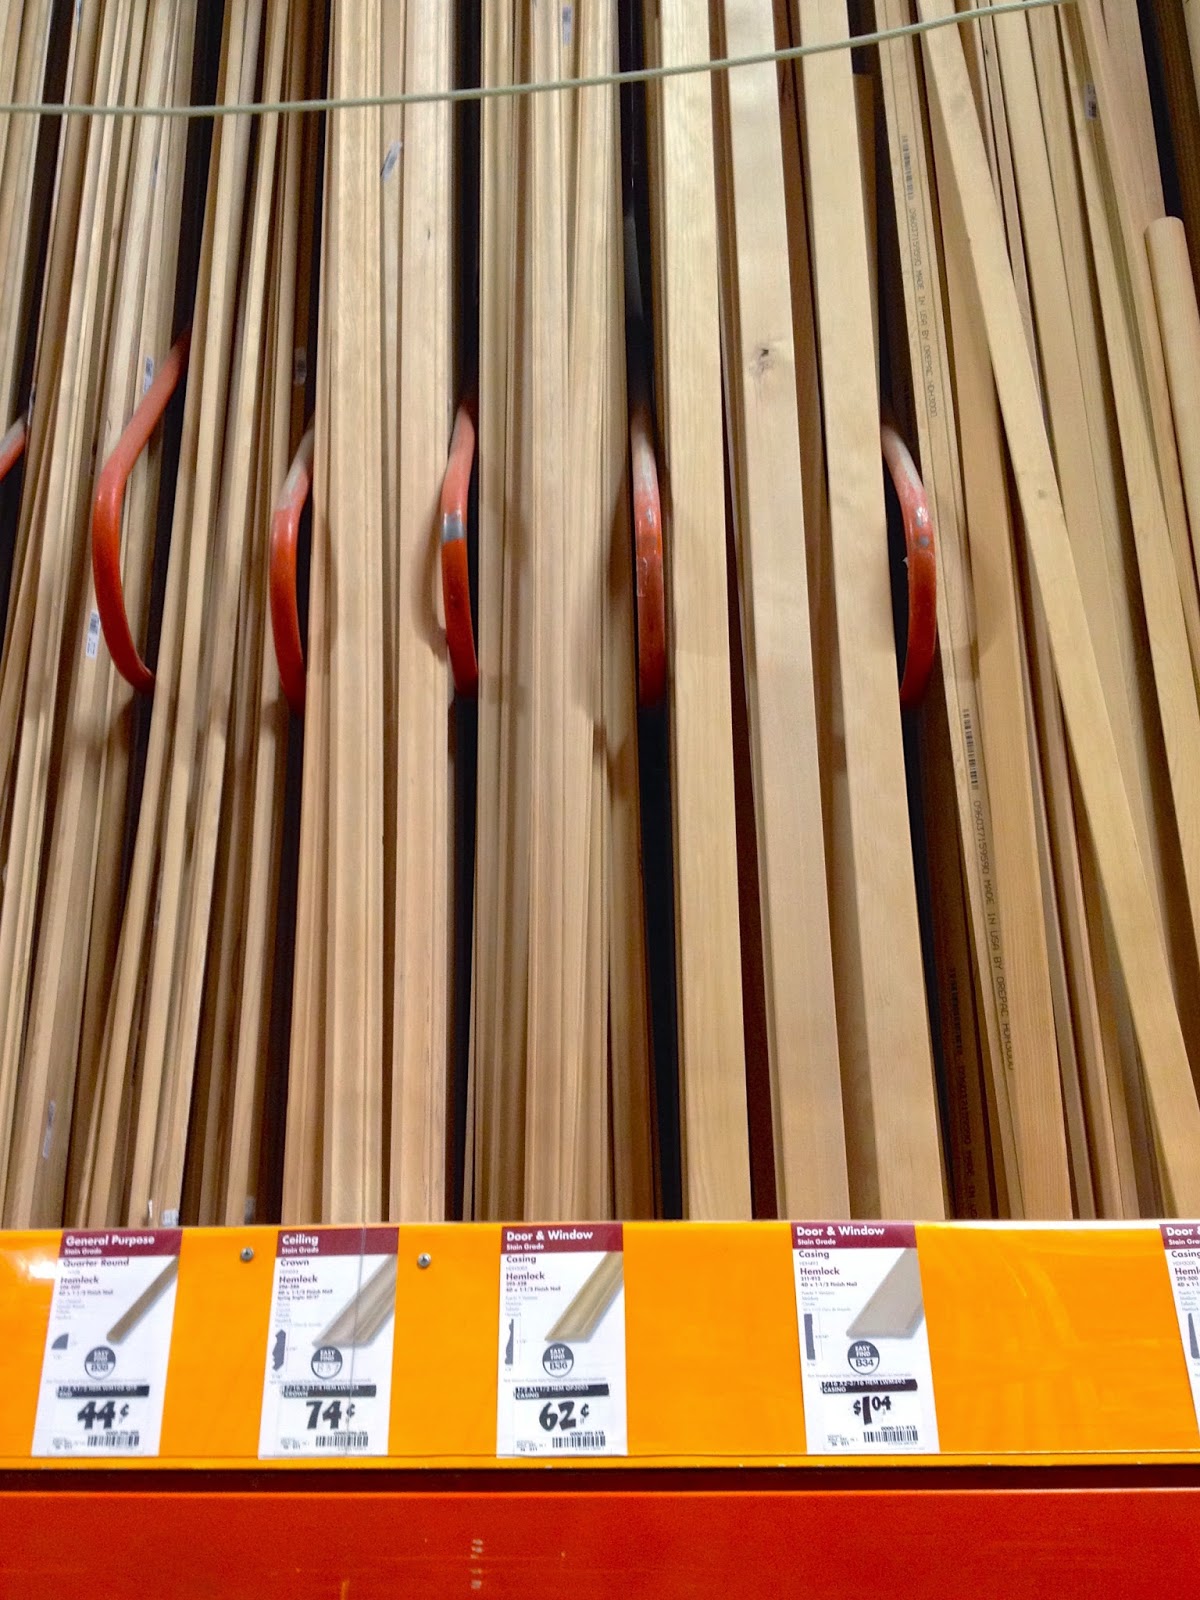
So I was off and running. To Craft Warehouse, that is. To buy some delightful navy ticking fabric so I could make my very own DIY branch sailboat.
First, I measured the fabric for the two sails by measuring the height of the sail twig:
 |
| [ticking fabric]. |
After cutting the fabric into two triangles, I took some screw eyes and hand-screwed them into the top of the branch at each end. Cedar is pretty soft so I was able to do it by hand but if your wood is tougher you can always pre-drill your holes.

You can [kinda] see in the image above that I sewed a button hole where I wanted to tie the sail to the eye hook. This is totally optional, you could just as easily poke or cut a small hole in the fabric. I just love using my sewing machine so I break it out whenever I can.
You can also see I turned the bottom of the sail under and hemmed it, but only because I wanted some extra texture from the hem thread. Again, totally optional...if you want all raw edges go for it!
This project couldn't have been simpler. Or cheaper!
Supplies:
• branch: free! [gotta love free]
• less than 1/2 yard of ticking fabric: $3
• screw eyes: I only used 2 out of an 8-count bag, but I'll count the whole bag: $1.20
• rope: less than a foot, I'll be generous and say: $1
Best,


I love reading your Comments!
If you do leave a Comment: remember to choose 'Replies' from the Subscribe To pulldown,
so you'll get an email when I reply!
If you do leave a Comment: remember to choose 'Replies' from the Subscribe To pulldown,
so you'll get an email when I reply!


