 |
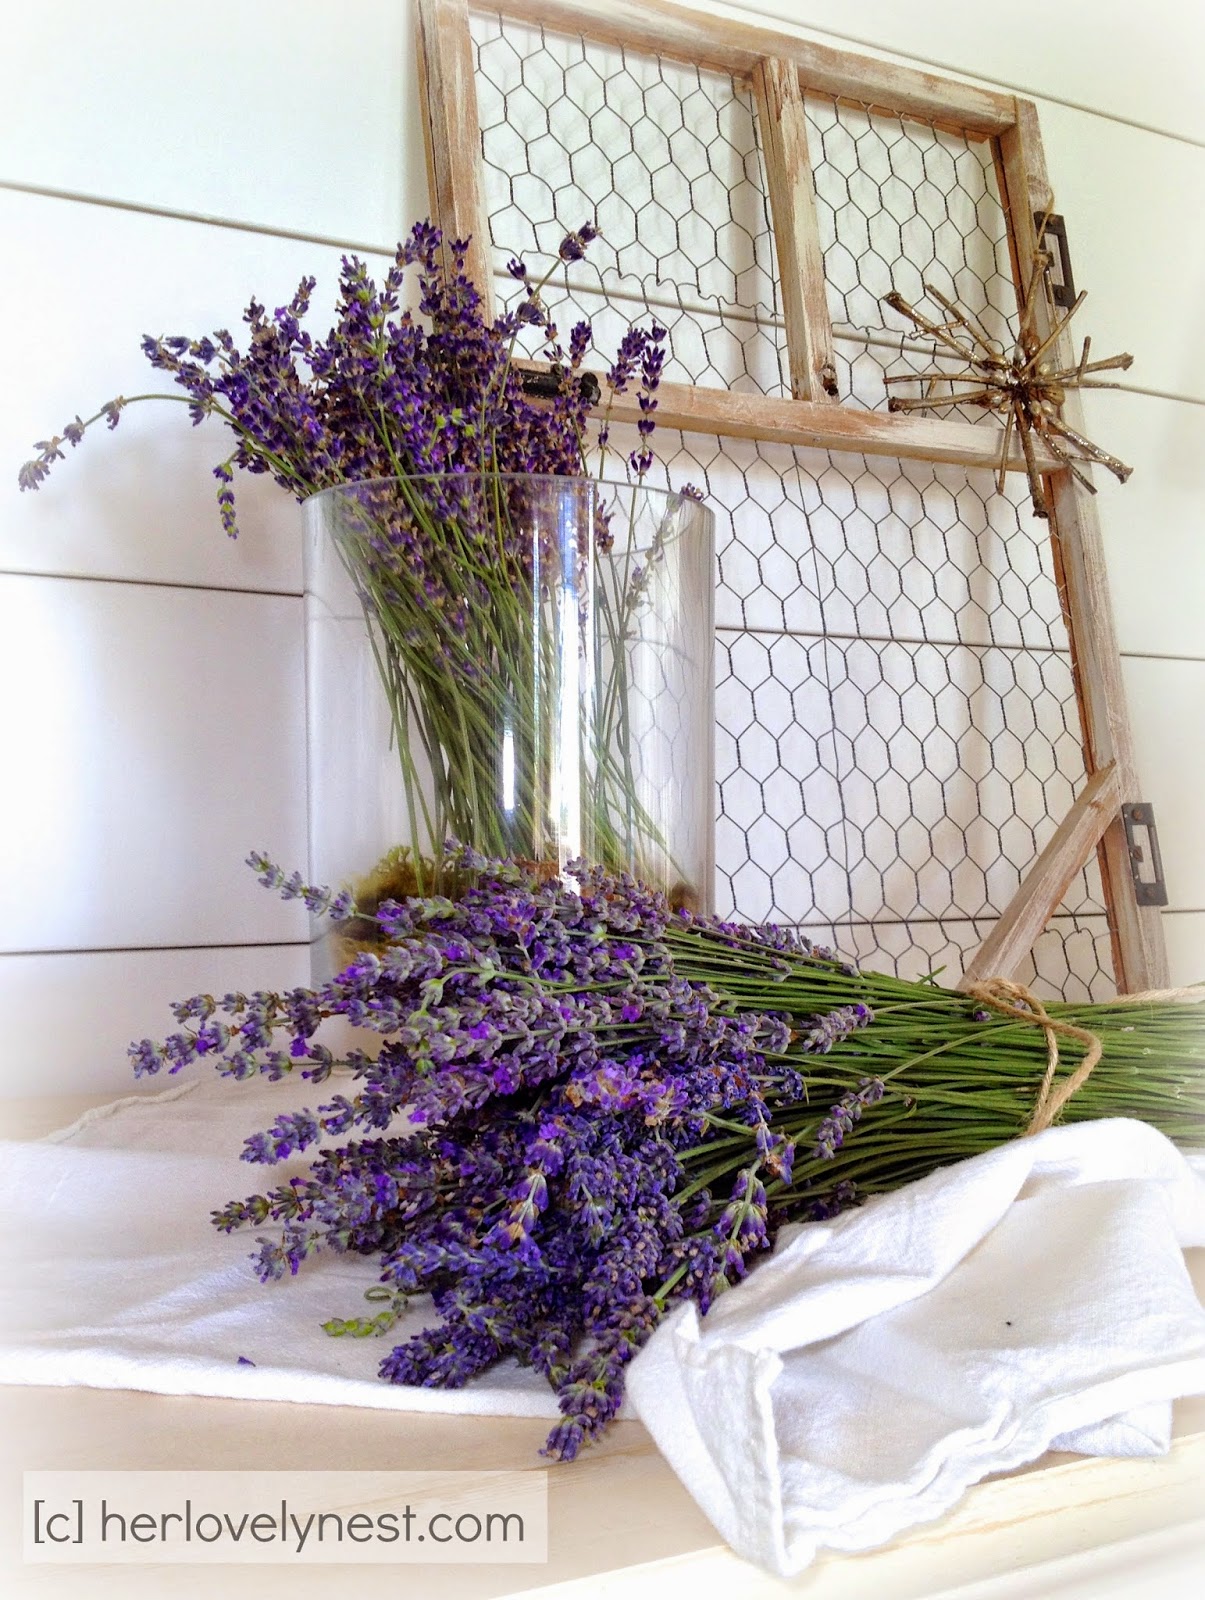
| [part of this summer's lavender-picking haul]. |
It's ok. You can say it.
I am the absolute worst on keeping up with my tutorial promises. Between work [yea yea the boring stuff that pays our mortgage and my DIY hobbies!], having some lovely guests this summer, and spending weekends hiking our wonderful Pacific NW trails, I've fallen behind. Again.
But here, finally, is the tutorial on the plank wall! It was crazy easy. The only reason it needed 2 people was because the boards were so long, that extra hands were needed to hold the far end while the first nails went in.
Even though this wall is officially in our home's dining room, we temporarily moved our dining table into the kitchen and we're enjoying it there...so for now this room has been repurposed into a nice little reading area. I wanted to make it a bit more special-er, so I decided to do a horizontal plank treatment,
which I originally revealed here.
 |
| [plank wall. hydrangea style!] |
Bah, who am I kidding? I wanted to use my Ryobi nailgun, my favorite purchase ever. It got it's first use on
The Great Board & Batten Wall and I've been looking for another excuse to break it out.
Before we get going...
materials breakdown [all from my home away from home, Home Depot]:
[13] 10 ft long x 7.25 in wide x 1" thick primed MDF planks @ $15.78 each*
[2] 10 ft long x 2 in wide strips for left end and right end [to cover plank length shortfall] @ $6 each
[2] electrical outlet extenders @ $3.27 per 2-pack
[trace amount] Patch N Paint Lightweight Spackling [already owned, $4.28 for 8 oz]
[1/4 gallon] Behr untinted Ultra Pure White Eggshell, 1 gallon @ $26
[1] Linzer smooth to semi-smooth paint roller cover @ $4.77
Ryobi cordless nail gun [already owned]
[6] quarters, for spacing between each plank row @ $0.25 each [I won't count these since you can spend them when you're done!]
:-)
= $251.12 total out of pocket [not bad! but still, guess I have to keep working to pay for this stuff, huh?]
minimal sweat equity
*you could cut the cost down by not going all the way to the ceiling and/or by using thinner boards. I opted for the more expensive boards because I wanted the 1" thickness to match my existing baseboards, so the planks would be flush with the baseboards.
And here we are in progress, with almost half the boards up. Of course we marked the studs and nailed the planks into them for safety.
For spacing between planks, we used 6 quarters along the top of the plank before nailing the next one up. If you squint, you can see the quarters along that top plank.
True to form, stuff wasn't *quite* right. You can see the planks were just a hair short of reaching all the way across.
The width of the wall is 10ft 3in and I absolutely did not want to buy 12 foot boards and cut every one of them, and end up with lots of waste. So as usual, a compromise was in order: we tacked 2 inch wide vertical strips to frame it in on each end and cover up the shortfall:
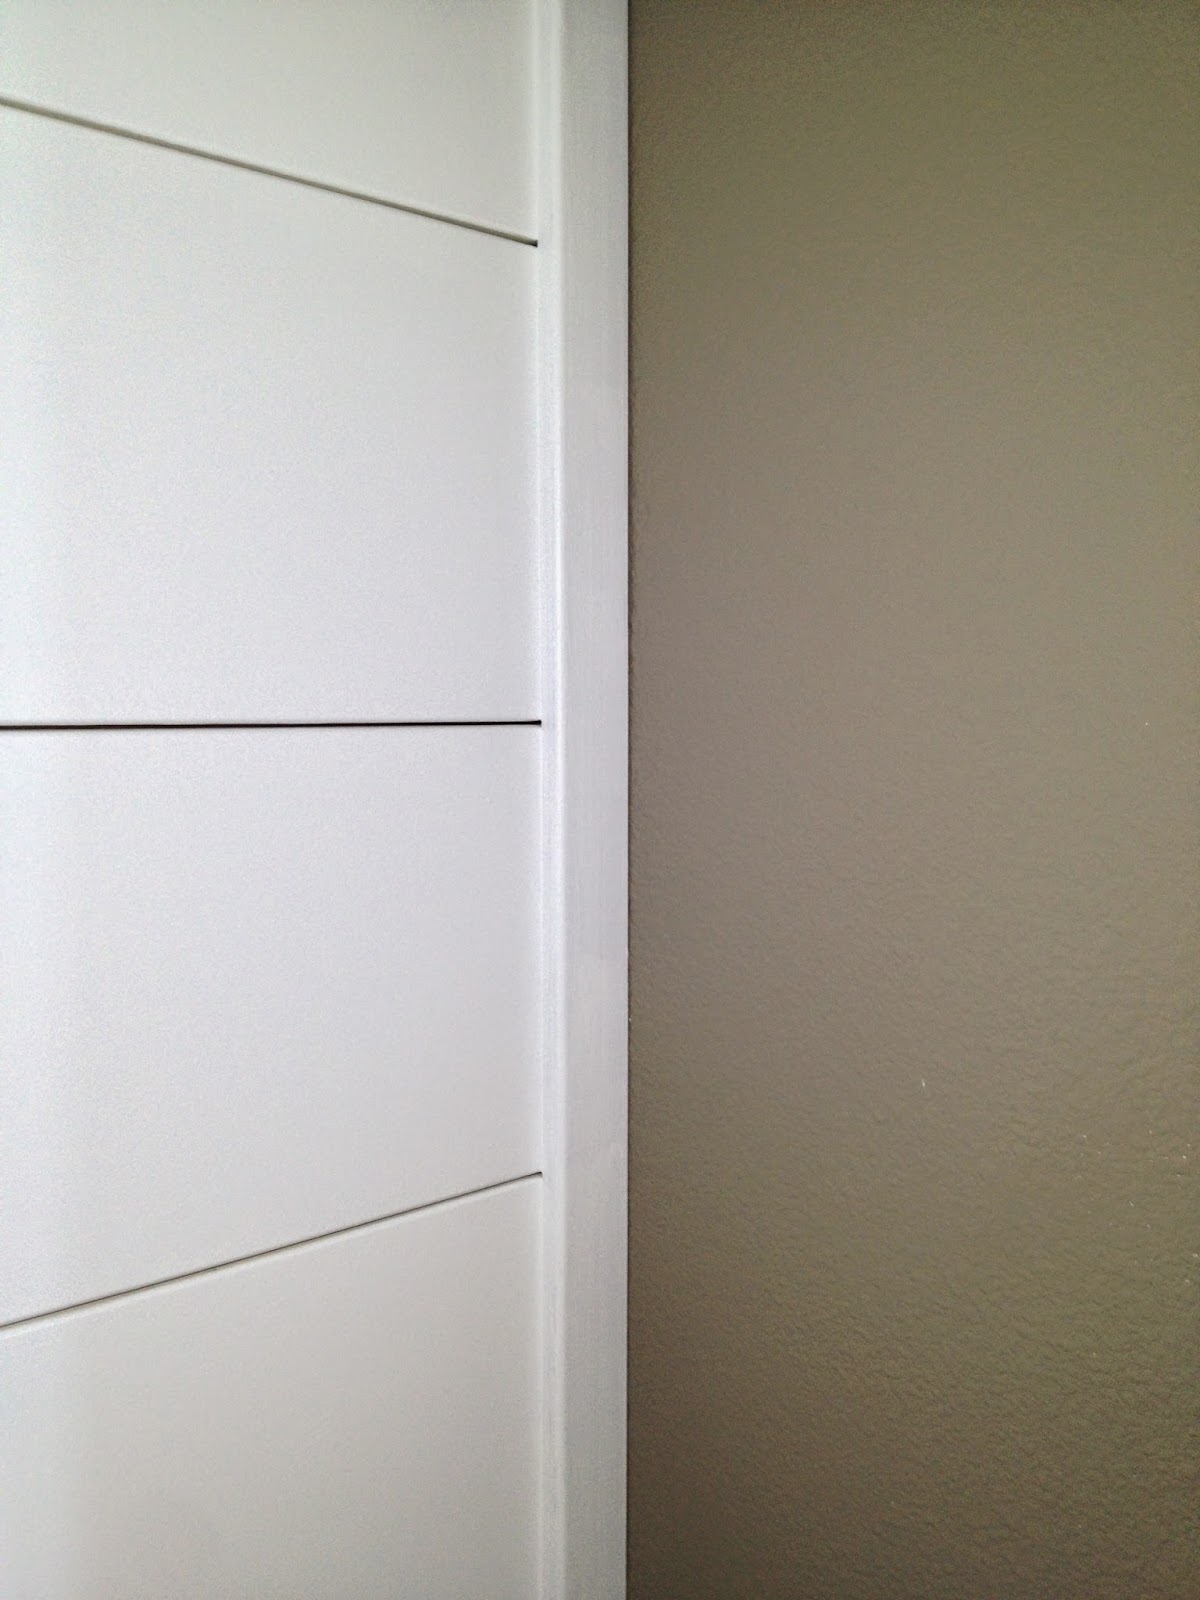 |
| [covering up the shortfall on each end]. |
You probably also saw that we had an outlet and a light switch to deal with. We used outlet extenders to bring them just a hair forward, and used a jigsaw to cut holes in the 2 planks to accommodate the extenders.
Before I move on, let me stress that you should always cut off power to outlets and switches whenever you are doing any work on them. And of course, if you have any qualms or lack experience with this kind of work you should hire a qualified electrician. Safety first, last, and always!
All that being said, I cut the room's power at the circuit box, and unscrewed the switchplate covers. I then unscrewed the 2 screws holding the light switch to the wall and pulled it forward a little, passing it through the outlet extender. I didn't have to actually disconnect any wires. Using the 2 long screws that came with the outlet extender, I screwed the light switch back into it's home:
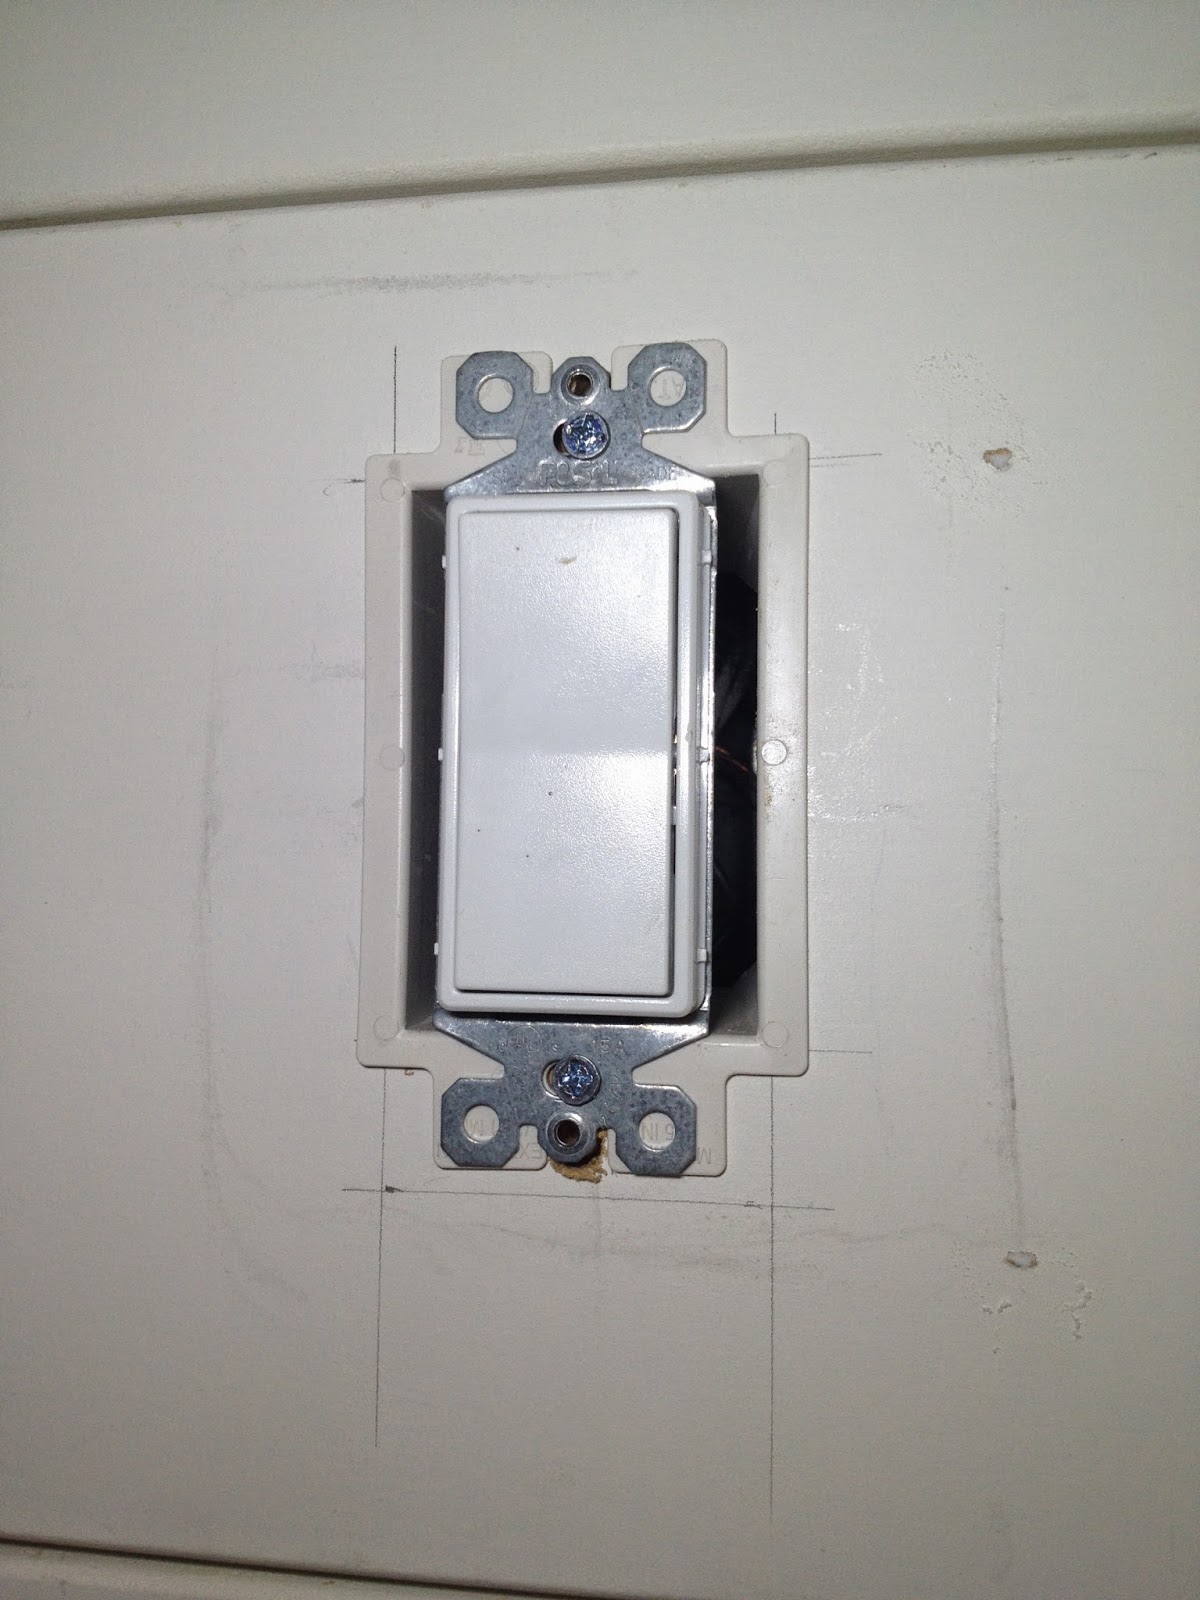 |
| [outlet extender installed]. |
Repeated the process on the power outlet.
Here's the wall constructed and ready to paint! Since I wanted this wall to have a more casual look, I didn't caulk anywhere except where those brown trim pieces hit my existing baseboards. But honestly I could've easily skipped that step.
 |
| [ready to paint]. |
For paint, I just used Behr Interior Eggshell in Ultra Pure White, untinted. That's the color of my existing baseboards so fortunately I didn't have to worry about paint matching. You can see my favorite cheap edger [that black thing with wheels]. It's genius and works perfectly...I haven't taped a wall or ceiling in ages. I have to say I've tried more expensive edging tools that don't work as well as this $3 guy.
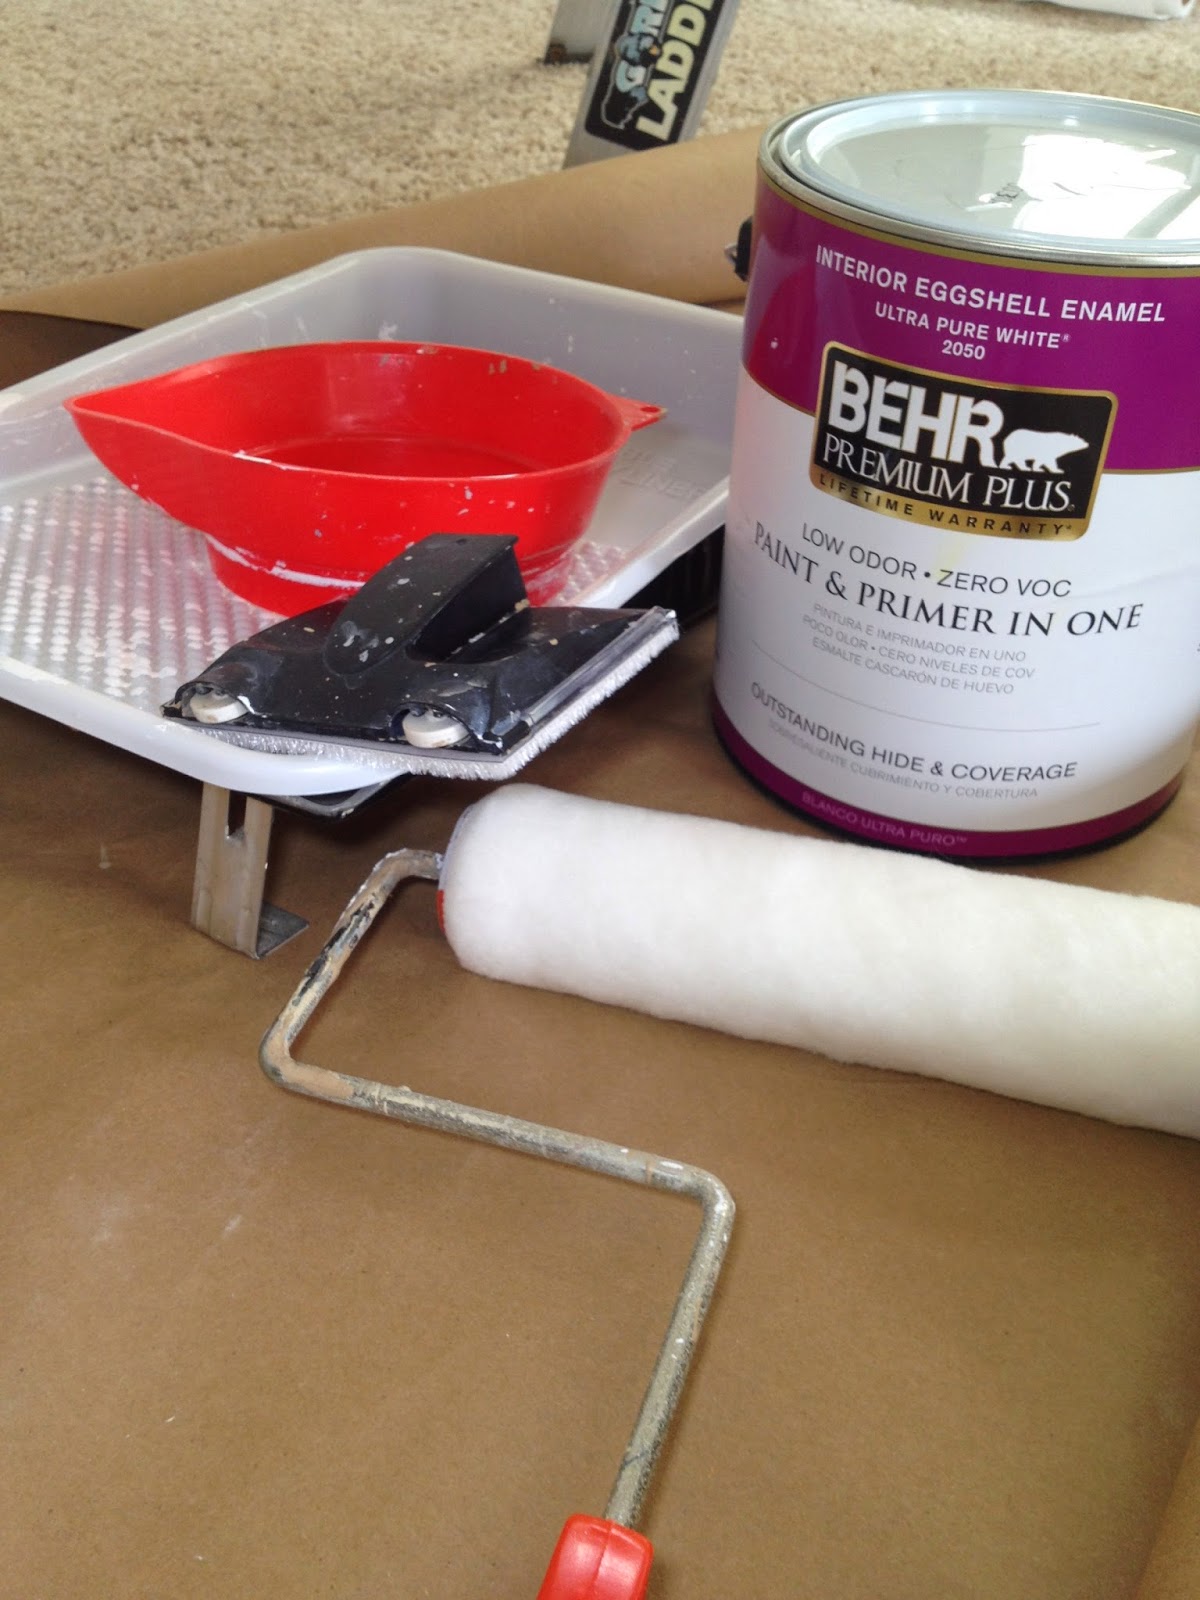 |
| [paint supplies]. |
Mmm, can't you just smell that lavender?
Thanks as always friends! Please let me know if you have any questions in the Comments below and I'll be happy to answer them if I can.


 :
: