connect + share.

      twitter  follow in feedly  Joss and Main :

Monday, July 22, 2013

nurturing my Threshold crush.

Over the last year or so I've developed a crush on the Threshold home line at Target.

Couple that with my oh so serious crush of all things grey, blue/grey, or anything in between, and Threshold's Fall line is resulting in a lot of swooning over here.

Have you seen this great half-round storage cabinet? It's a beautiful grey wood covered in a special glaze to give it an antique vibe:
[lovely grey with antique finish].
It totally reminds me of the tables my grandmother had in her living room when I was growing up. She stored games and cards in hers.

And I'd love to swing that big round door wide and marvel at how a table could have round doors.


I could see this in an entryway, or as a game storage table just like Grandma had.


She also had some great fully round end tables with doors that swung open...I'm sad that I didn't take them when she offered them to me. Short-sighted much? Yep.


Not to be outdone, check this terrific apothecary cabinet!
[grey wash apothecary cabinet].
It's kinda genius because the first row is 3 individual apothecary drawers like you'd expect. But the bottom 2 rows are full size drawers that look like individual little drawers.  Genius! Because let's face it, lots of teeny little drawers aren't necessarily functional for everyone...this seems like a cool compromise to me :-)

Ok this last one isn't grey...
[seagrass milk crate].
...but who could resist those lovely blues mixed with natural tan? You wouldn't believe how pretty and soft these natural seagrass milk crates are.

They're a perfect size for storing just about anything. I was thinking they'd be perfect for storing winter scarves since they're soft and so the scarves shouldn't get snagged.

I think at least a couple of these lovelies are going to find themselves a home with me.

Can you tell I'm excited for Fall?
twitter follow in feedly Joss and Main :

Monday, July 15, 2013

perfectly portland - summertime marionberry picking

Oh to be in Portland now that marionberry season is here....

I'll let you in on a secret. Portlanders are seriously proud of [and not to mention crazy about] their local magical blackberry hybrid known as the Marionberry. A native Oregonian, it was developed at Oregon State University in 1956, it's a cross between two blackberries and it's pure heaven!

[marionberries and blueberries. yum!]

So as you can imagine, no summer in Portland is complete unless you've been marionberry picking [or blueberry, or raspberry or whatever floats your boat...for me it's always and forever marionberries!].

[marionberries]

Last weekend we joined some friends at the beautiful Blueberry Hill Farm in Sherwood, Oregon. The wonderful staff at the farm gave us shallow boxes [marionberries don't like to be squished] and directed us to where the marionberries were planted. They're at the back, high point of the farm so we got to meander along a lovely lakeside path to get to them.
[lakeside path to the marionberries]

We picked like crazy for an hour or so.
I just couldn't stop. It's possible I overdid it.

But that's ok, when I got home I separated out about a gallon's worth, rinsed and tucked them into the freezer. I'll bring those out this winter when I'm seriously jonesing for them and probably make some great muffins.

I confess that I did manage to pick a bucket of blueberries too:
[blueberries too]
[at the entrance to the farm...don't just love hay rolls?]

Bumping along the farm road on the way out, I had my husband snap a shot of these hay rolls. I just love seeing these every year in the fields around our house. But I usually don't catch them when they're stacked so this was a lucky shot.

So what's in season in your neck of the woods?


twitter follow in feedly Joss and Main :

Monday, July 8, 2013

a beautiful reclaimed window gets a new life

I'm a sucker for old windows. Really, almost any kind of old window will do.

More years ago than I care to admit to, my husband and I were shopping in the amazing Architectural Salvage store and I fell in love with the masses of reclaimed windows filling the store. They have lots of other goodies too but the windows...oh the windows!

I was well and truly hooked. I named my favorite window Sally, after Sandra Bullock's character in Practical Magic. She so reminds me of the kitchen in the aunt's house.

Fast forward 17 years and I've still got the lovely old windows we purchased in my Portland Oregon home.  For the longest time, I had Sally leaning against a wall. And she looked great.

But she had a dream of swaying gently above the fireplace...or hanging above the entry into the kitchen...or...
I went back and forth over where she'd live and the years passed, and she stayed put leaning against the wall in resignation, knowing one day the wait would be over.
We finally gave Sally her home over the fireplace in the front room. This room gets the west sun so she gets to sparkle a lot. As she deserves.

I'm sorry to confirm that yes, she has some broken panes. She survived all these years with all of her panes intact, then a few weeks before we hung her, I foolishly had her leaning in that fireplace area and she fell. I'm trying to convince her that she's more charming this way but I don't think she's having it.
I tell her that if she had all of her panes when the sun hits her full blast each afternoon, it would reflect too much and blind everyone. She just gently shakes her head at my lies.

supplies
The supplies were simple, all from our home away from home [pun intended], Home Depot.
1. two E-Z Ancor Self-Drilling Drywall Anchors [we always stock these in the garage, super useful!]. Sally only weighed a few pounds but we still used the 75 pound anchors. I certainly didn't want her to fall and lose any more panes!  Always err on the side of being safer and more secure I say.
2. two screw hooks
3. about 3 feet of chain, purchased by the foot. HD has many by the foot chain options.
4. two turnbuckles [side note: I actually wanted these just for looks but they came in very handy in the end]
the process
1. first we decided how far forward she should hang. You can see how silly and deep that area is and I wanted to be able to put seasonal decorative items in front of her but I didn't want her so far back that she got lost in the shadows. So we found a happy compromise about 1 foot back from the front edge.
2. next we drilled 2 of the white E-Z Ancors into the ceiling
3. then we screwed the 2 eye hooks into the E-Z Ancors
4. next came the chain looped onto the eye hooks
5. next came the turnbuckles. I mentioned I wanted these just for looks but they actually came in very handy in the end for leveling the window. see how they twist on each end?  we were able to make minor adjustments to the leveling by screwing each end...genius!
6. and finally...Sally was looped onto the open end of the turnbuckle. she already had nice bulky closed screw eyes [she obviously was displayed like this in her past life as well], but we could've easily added those if necessary 

Here she is again, isn't she lovely?


PS. As I was writing this, I searched the interwebs for more reclaimed window pics for you. Check this great post from the wonderful Eclectically Vintage on repurposing windows: 10 Unique Repurposed Windows
twitter follow in feedly Joss and Main :

Sunday, June 23, 2013

painted summer series - part 1


I've been madly painting everything in sight lately so I am dubbing this the Painted Summer.

But I'm getting ahead of myself.


Let me tell you about this dresser I have. I do believe this is where my paint fixation began. When I bought her in the early 90s, she was the height of style...dark red mahogany.  And shiny. Blinding in fact; she was shellacked within an inch of her life.

Did I mention it was the early 90s?

But she had great lines and her size was just right.

So a few years ago, we whipped out the orbital sander and started by taking off that shiny finish, which was surprisingly easy. Another couple of passes with the sander and most of the dark red was gone too.

Swell. Now what?

We decided a 2-tone dry brush paint job was just the ticket. I dearly love the dry brush technique because it's meant to be messy and hasty looking. And that's just my speed.


I daresay we should've primed the girl first but we didn't. The first coat was a beautiful grey blue from Benjamin Moore called Oxford Grey. On top of that we dry brushed a very light coat of a grey lavender that I'm ashamed to say I didn't take note of. The closest is Benjamin Moore's Angel's Wings [awww].

A little leftover white from the garage was roughly rubbed into the crevices especially along her lovely Queen Anne's feet and around the scroll appliqué at the dresser's bottom.
[adore those feet].

A quick trip to the local architectural salvage store to pick up some mismatched pulls and keyhole and we were all set!
[yea that's a fake keyhole!]
I wish I had a picture of her in her previous life so you could see how much happier she is...she's so relaxed and chill now.

twitter follow in feedly Joss and Main :

Monday, March 18, 2013

master bath restyle #1: hooks! lovely hooks!

Spring has officially sprung here in the Pacific Northwest...the rhododendrons and hellebores are blooming and the cherry trees are beginning to wake up as well.  So naturally I started itching to do some refresh and wake up projects in my own home.

who's with me? you're feeling it too, right?

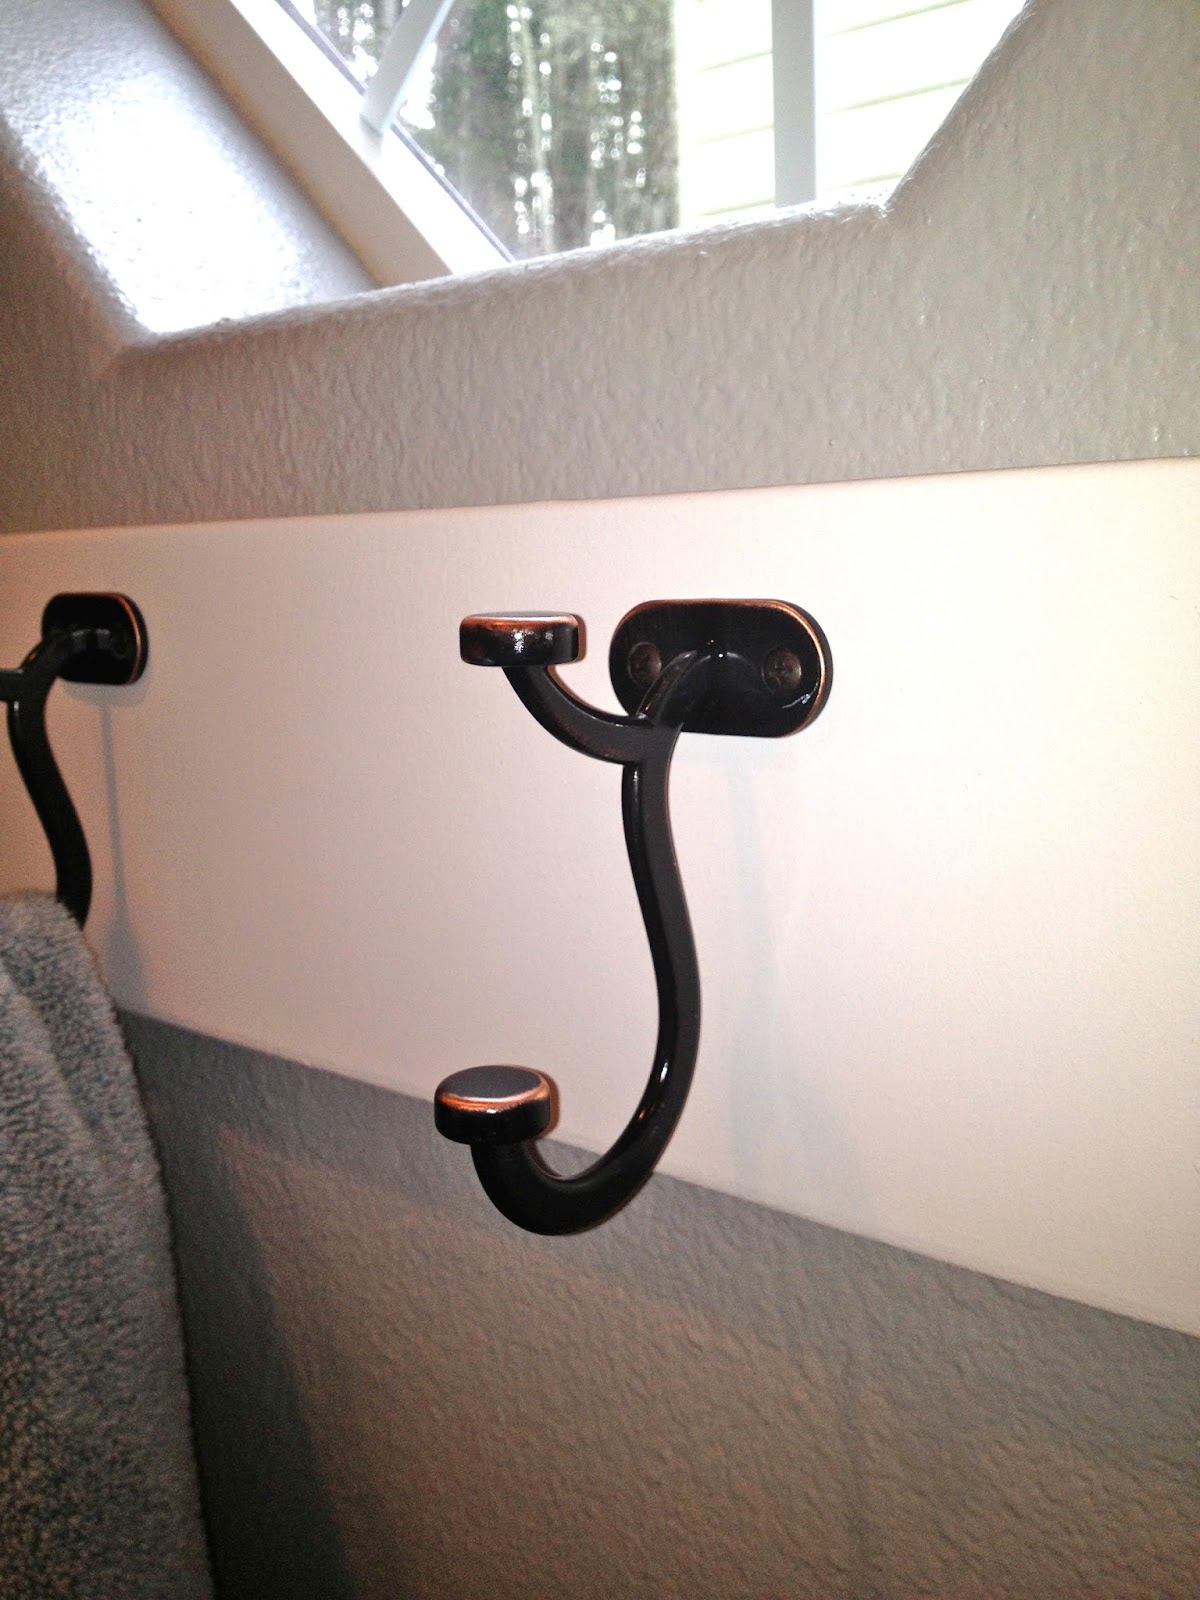
I began this year's journey in the master bathroom with a super simple inexpensive project: replace the towel bars with hooks. Before I frighten you with the before picture, here's the lovely after shot.

[after: lovely hooks]
Ok get ready for the before. My apologies for the dark photo, our bath is on the east side of the house and there's a forest behind us, so tons of natural light kind of eludes this room. Especially in March!

[before: less than lovely messy bars]
So these horizontal racks have always bugged me. [A]: you can see there isn't even enough room for 3 towels without them overlapping, and [2]: unless you hang them just right it simply looks messy. also, I'm convinced that they don't dry properly when they're folded in half like that.

Behold the genius of hooks! They're a gorgeous dark bronze with copper tips and edges [look closely at the round part and you can see the copper! yum]. Unfortunately my Home Depot didn't carry the bronze finish in the store so I had to order them but they were well worth the wait.
[after: lovely hooks]
I purchased a wide piece of MDF from  Home Depot and painted it to match our existing moulding. After cutting it down to 51 inches to fit the space, we screwed it to the wall. Normally we would've nailed it so as to have only small nail holes to fill, but we were lucky in that there were wall studs behind 4 out of 5 of the places that we wanted to hang the hooks. So we used long drywall screws behind 4 of the hooks, sunk them in and just placed the hooks over top. Joy!

now we have 5 places to hang towels, washcloths, and PJs [ahem, hear that dear? you no longer have an excuse to toss your PJs on the floor when you get in the shower!]

materials:
white MDF moulding: $8
paint: Kelly-Moore Dura Poxy+  untinted semi-gloss [teeny tiny amount used from our existing quart sized touch up can; less than $1]
drywall screws [less than $1; scrounged from the garage]
sweat equity: minimal

I keep finding excuses to go into the bathroom and marvel at these lovelies.
So what are you all itching to work on this Spring? I've only got a million more little things on my list...


twitter follow in feedly Joss and Main :
Related Posts Plugin for WordPress, Blogger...