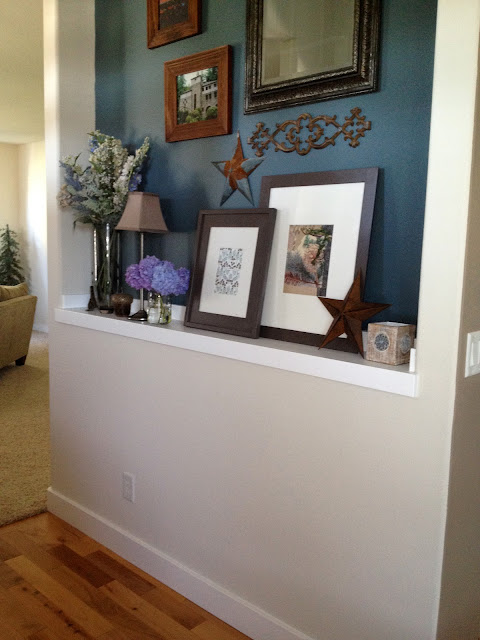
my house has terrific flow, partly due to the rounded corners that separate different rooms. but you can imagine the trouble if you dare to paint 2 adjoining rooms different colors...how in the world do you deal with that oh so smooth lack of break between the rooms? I recently encountered this in my foyer.
as you can see from the picture below, my foyer has this great little recessed pocket which I painted using Martha Stewart's Gabardine in a lovely eggshell finish.
 |
| [before the vertical moulding]. |
1. I only wanted to paint the bottom part of the wall between the 2 existing pieces of horizontal moulding [I didn't want to take the gabardine up the vertical part of the wall]
2. check out the rounded corners that already made the transition between the brown paint in the adjoining room and the existing builder's white paint look weird. can you imagine how much weirder-er it would've been with 2 rich colors up against each other?
Home Depot moulding department to the rescue! I purchased 2 10-ft lengths of the same plain craftsman moulding that was already being used in the foyer, hunted down the trim paint color from 7 years ago [turns out it was plain old non-tinted Kelly-Moore semi-gloss base, who knew?], whipped out my trusty and much-loved Purdy paint brush and got down to it.
 |
| [a few supplies]. |
next I cut the moulding to size and attached them to the 2 vertical bits of white wall, all the way to the ceiling. I puttied the holes, sanded them down, and painted them. finally, I used DAP's Alex Painters Acrylic Latex Caulk [about $1.50 at HD] and a caulk gun that we already owned to run a bead of caulk all the way down each side of the moulding where it meets the wall, and also along the top where it meets the ceiling.
the trick to easy caulking is to use a sharp utility knife to cut the very tip off the caulk tube at a sharp angle. this way you can really tuck that tip into the area to be caulked and get a very fine bead.
what I read after the fact that I'll try next time: spraying the painted bit of wall [in this case the brown and the blue] with Windex before caulking. say what?! they say this keeps the caulk from sticking to the painted part of the wall so you don't have to touch up the paint. nice.
if you've never used caulk like this before, it's really easy. google how to caulk and you'll find lots of great super short videos that describe how to do it.
 |
| [after...nice boxed in lower wall...closeup]. |

 :
:


